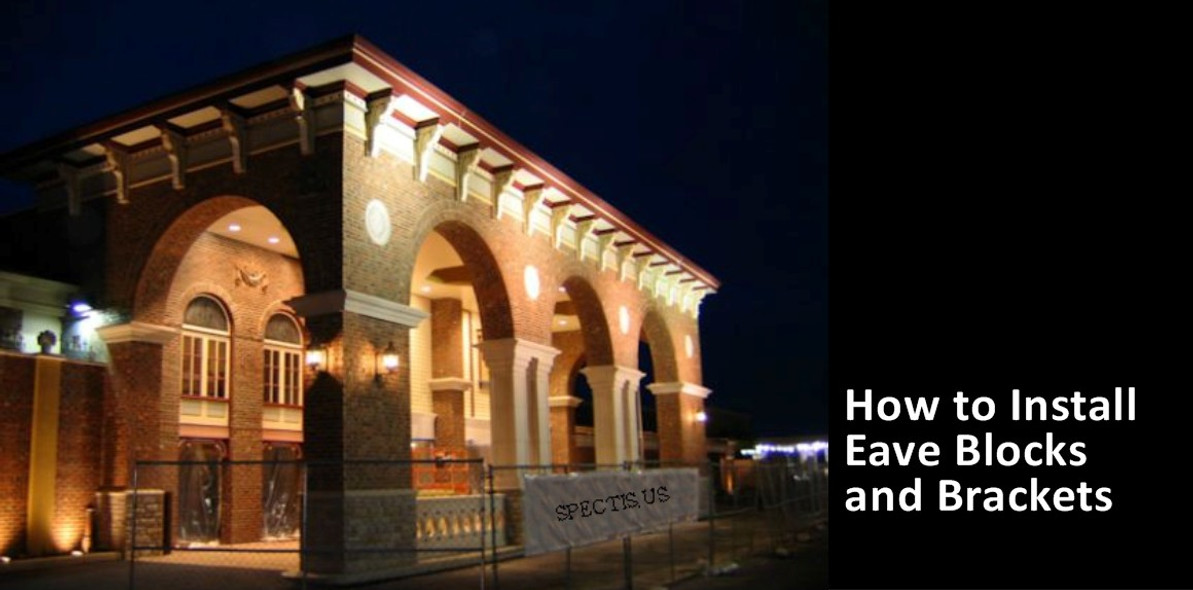
How to Install Spectis Eave Corbels, Blocks and Brackets
Give your roof some decorative attention with well-placed brackets.
The beauty of Spectis blocks and brackets can perk up a bungalow roof line, adding curb appeal to your home. Spectis Blocks and Brackets are High density Polyurethane or (HDP) that can be finished to match exteriors either before or after installation.

Step 1
Before ordering brackets, measure your eaves from the edge of the roof to the wall to determine the length of the top part of the bracket. Next, determine how many brackets you will need. Craftsman houses, like the one shown above, tend to have either three or five brackets placed along the gable, with one of them at the peak, while Italianate houses have brackets in pairs set a few inches apart, and spaced 12" to 18" from the next pair. Check the length down the wall to make sure the brackets won’t overlap any doors or windows they may be near.

Step 2
Hold the bracket against the wall and mark all of the corners. Next, mark the screw holes on the wall, and drill holes that are slightly smaller than your screws. Align the holes on the bracket with the holes on the wall, and check to see that the bracket is level and plumb. Apply Ample amounts of PL Premium Adhesive and then secure it with stainless steel screws.

Step 3
Countersink the screws, and cover the holes with a Finish putty or PLPremium Adhesive, All of our blocks and brackets come with a primer coat, so you will need to sand down the excess hole filler and paint the product.
Spectis’ decorative brackets, blocks, corbels, etc. are designed for installation directly over finished, waterproof wall surfaces. The simplest method of installation is to apply copious amounts of Spectis Adhesive ADH 100 to the bedding surfaces (both wall and soffit) and fasten them onto the wall using weather resistant screws through the face of the product into the substrate. Be sure that bedding and bonding surfaces are clean, dry, and free from all oils to ensure good adhesion.
Select the appropriate fasteners for the wall and soffit substrate. eg. Tapcon for masonry, and woodscrews for wood. Stainless or zinc plated fasteners should be used for corrosion resistance. For extreme wind protection, make sure the fasteners are spaced no more than 12” around the perimeter. For average locations, the fasteners can be located at all corners.
The screw holes can then be filled with exterior spackle or a “bondo” type product. Once filled, the item can be spot primed and painted with a high quality exterior paint. As an alternate, the screw holes can be filled with painted acrylic latex caulk. Note that using this method may, or will not result in a completely seamless installation.

Recent Posts
-
How to Install Spectis Balusters and Handrail System
IMPORTANT: Be sure to mark the center point of each newel post's location prior to installation …Feb 12th 2025 -
How to Install Spectis Eave Corbels, Blocks and Brackets
Give your roof some decorative attention with well-placed brackets. The beauty of Spectis blocks and …Feb 12th 2025 -
How to Install Open and Closed Spectis Louver Vents on Gable
Spectis offers many styles of shutters louvers, and wall panels. All of these elements are designed …Feb 12th 2025


