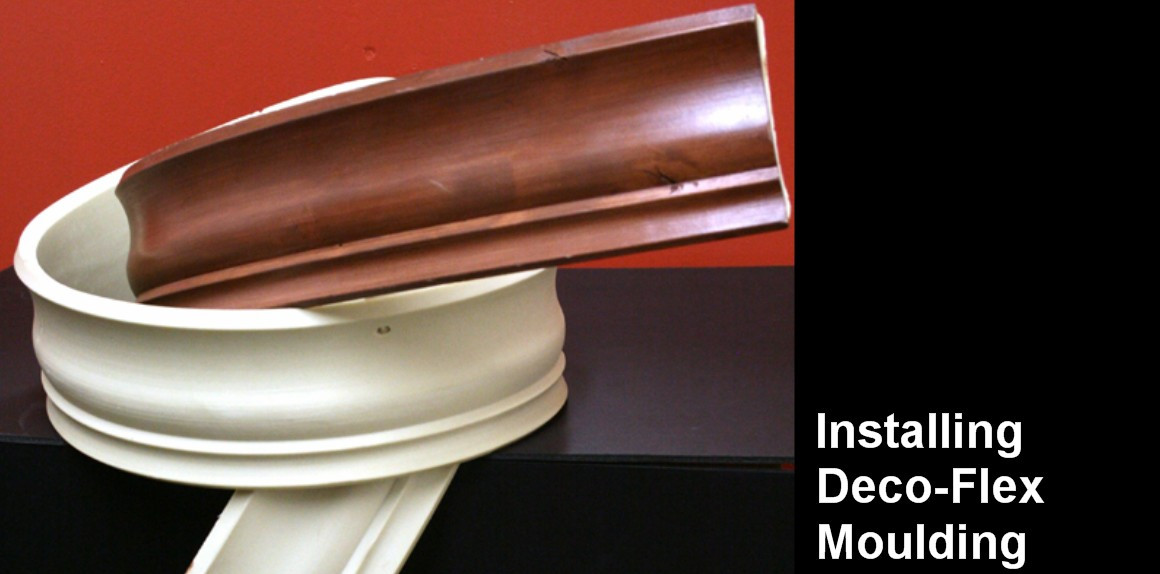
How to Install Spectis Deco Flex Moulding
DECO FLEX MOULDING INSTALLATION INSTRUCTIONS (INDOOR USE ONLY!)
Spectis Moulders Deco flex is installed by using a combination of solvent based contact cement and PL Premium Adhesive, applying the contact cement near the outer edges of the ceiling / wall interfaces, and the PL Premium in the interior contact areas. The use of the contact cement allows sufficient time to pass for the PL Premium to cure and take over bonding control.
Deco Flex can be installed using the following procedure:
1. Pre-fit each section of product before application of adhesive. Apply contact cement to the contact areas of the moulding and wall/ceiling areas. Once the contact cement has been allowed to dry, apply the PL Premium to the interior contact edges of the moulding. Install beginning from one end of the moulding and working towards the other. Be sure to have some assistance while doing this. It may be necessary to use nails / screws to aide in supporting the moulding while the PL Premium cures. Make sure the contact cement is used on all running and butt joints.
2. Once the adhesive is cured, (approx. 2 days) the product can be filled, primed, and painted as per standard quality painting procedures. High quality oil base products only are recommended for good results. Be sure to use a matching primer and top-coat. Note that the oil base product requires more time than usual to become tack free due to the characteristics of the flexible product, but this is not a concern. Be sure not to put any weight on the moulding after it is patched and painted as it may crack the finish.
Recent Posts
-
How to Install Spectis Balusters and Handrail System
IMPORTANT: Be sure to mark the center point of each newel post's location prior to installa …Feb 12th 2025 -
How to Install Spectis Eave Corbels, Blocks and Brackets
Give your roof some decorative attention with well-placed brackets. The beauty of Spectis blocks and …Feb 12th 2025 -
How to Install Open and Closed Spectis Louver Vents on Gable
Spectis offers many styles of shutters louvers, and wall panels. All of these elements are designed …Feb 12th 2025


