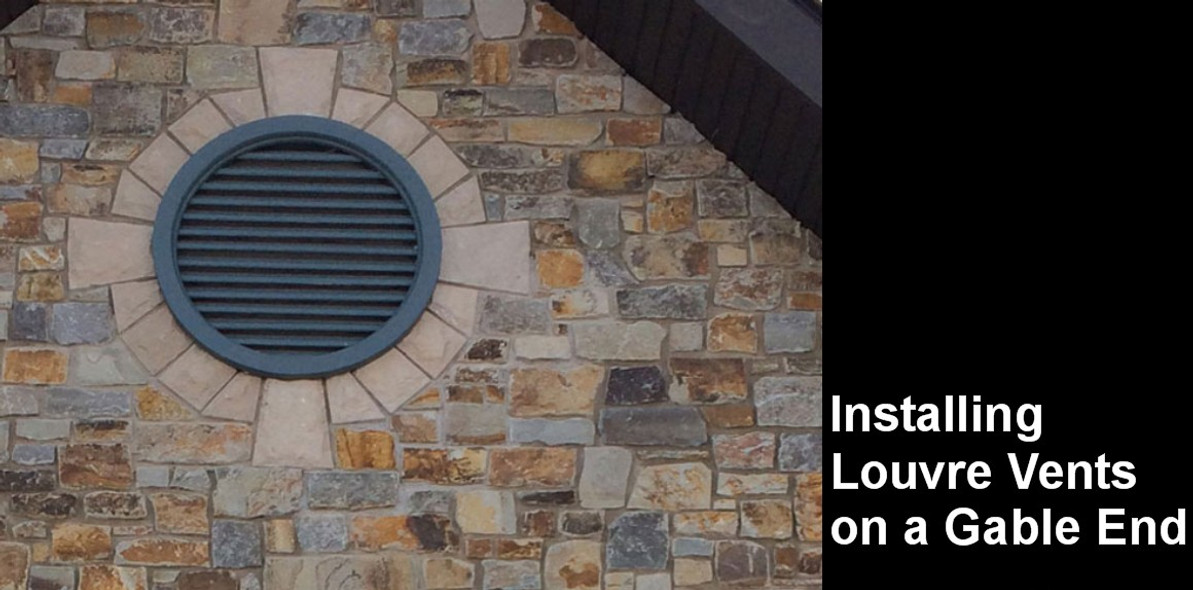
How to Install Open and Closed Spectis Louver Vents on Gable
Spectis offers many styles of shutters louvers, and wall panels. All of these elements are designed for installation flat onto a wall surface. Because of this, they are all installed using similar techniques.
The following represent acceptable methods:
- Venting Louvers
- Position and mark product on wall in the final location.
- Cut the opening into the wall 2" smaller than the mark made above.
- Apply PL Premium adhesive to perimeter of the louver.
- Position the louver back on the wall and screw through the face of the brick mould and into the wall behind. Use the appropriate plated screw for the wall material. i.e. Wood or masonry.
- Finish the installation by filling the screw holes, caulking (see Finishing Section) around the perimeter if necessary, and prime and paint as desired.
- LOAD Frames
- Position the product on wall in the final location. Mark location of the jamb on the wall.
- Cut an opening into the wall 1/4" larger than the mark made above.
- Apply PL Premium adhesive to back side of the brick mould of the LOAD frame.
- Position the LOAD frame into the opening and screw rough the face of the brick mould and into the wall behind. Use the appropriate plated screw for the wall material. i.e. Wood or masonry.
- Finish the installation by filling the screw holes, caulking (see Finishing Section) around the perimeter if necessary, and prime and paint as desired.
- Closed Louvers, Window Panels, and Shutters
- Position the product on the wall in the final location to test for fit.
- Apply PL Premium adhesive to perimeter and center areas of the product.
- Position the product back on the wall and screw through the face of the product and into the wall behind. Use the appropriate plated screws for the wall material. i.e. Wood or masonry. Note: It may be necessary to install fasteners in the center area of the product to properly secure.
- Finish the installation by filling the screw holes, caulking (see Finishing Section) around the perimeter if necessary, and prime and paint as desired.
Feb 12th 2025
Recent Posts
-
How to Install Spectis Balusters and Handrail System
IMPORTANT: Be sure to mark the center point of each newel post's location prior to installa …Feb 12th 2025 -
How to Install Spectis Eave Corbels, Blocks and Brackets
Give your roof some decorative attention with well-placed brackets. The beauty of Spectis blocks and …Feb 12th 2025 -
How to Install Open and Closed Spectis Louver Vents on Gable
Spectis offers many styles of shutters louvers, and wall panels. All of these elements are designed …Feb 12th 2025


