
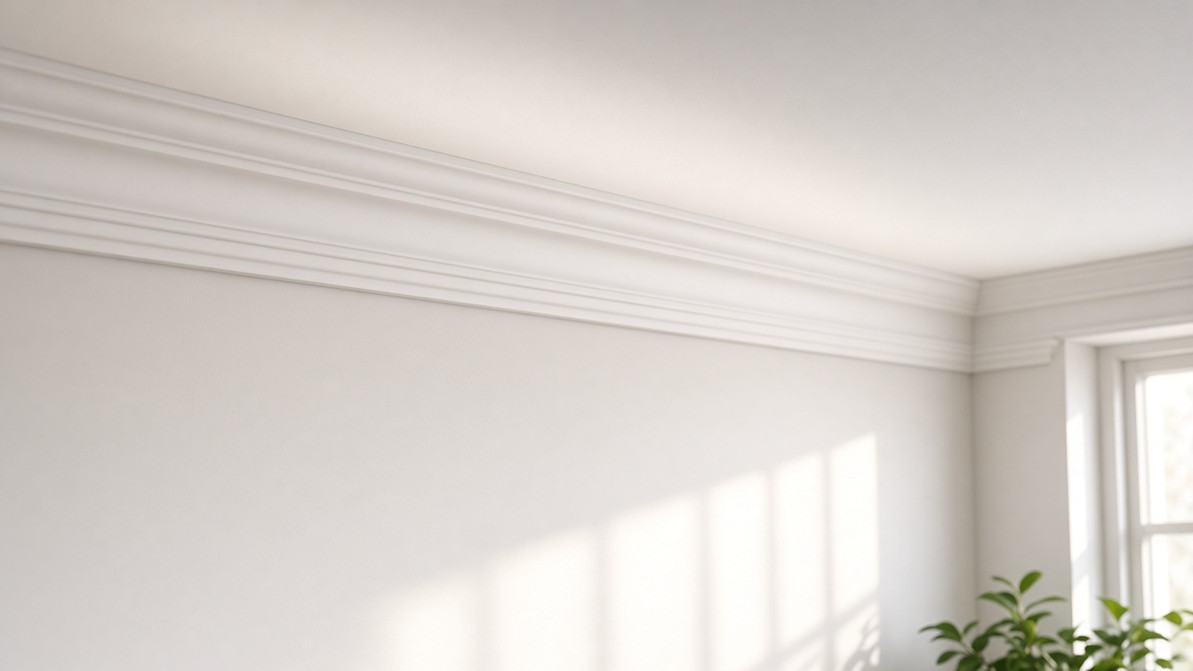
Finish Spectis Urethane Products
All of Spectis’ products are shipped with 2 coats of paint. The second coat is an exterior product that acts as a primer for field finishing. Spectis’ products require finishing to complete the installation procedure and to be fully covered under warranty. This procedure includes all steps necessary to repair any seams/joints in moulding installation as well as filling the screw/nail holes made during the installation.
The steps to be followed are the same for all of Spectis’ products and are as follows:
1. Allow adhesive to dry 24-48 hours before beginning the finishing procedure.
2. Cut off any excess adhesive using a utility knife.
3. Clean and remove all dirt, oil and greases from the surface of the product using a wax and grease remover product such as Sherwin-Williams Pro-Clean Professional.
4. With 80 grit sandpaper, “rough up” the surface surrounding screw/nail holes made during installation. This will ensure good filler adhesion.
5. Sand all joint areas with 80 grit sandpaper to “rough up” and “blend in” any misalignment of the product during installation.
6. Once all the areas needing repair are “roughed up” and “blended in”, remove all dust from the surface of the product, again using the wax and grease remover. Compressed air can be used to remove the excess sanding dust.
7. Apply filler to the areas needing repair. (Use a 2-component, light weight automotive filler, such as “Car Systems AutoFit, Eurosoft # CARS134458.”) Apply the filler using thin coats, sanding between each coat with 120 or 180 grit sandpaper. Doing so will reduce the amount of material that will have to be sanded away. Generally, it will be necessary to apply 2 or more coats of filler to get the desired results.
8. Prime all areas that have had filler applied. (Use an interior/exterior latex primer such as Sherwin-Williams A100)
9. Caulk seams along bedding edges of moulding, around ceiling medallions, around column shafts, around caps/ bases, around the end of railings, around balusters, and in any other area necessary to provide a clean installation. (Use a paintable exterior latex caulking such as Sherwin-Williams Pro Select 1100A)
10. Paint the product as desired. Do not use dark or glossy colors as they will accentuate any flaws left from the installation. (Use a product such as Sherwin Williams Interior/Exterior A100 or Super Paint, flat or satin)
Primer: Sherwin Williams A100 or Prep Rite Classic Interior Latex Primer
Paint: Sherwin Williams A100 or Super Paint
Pre Cleaner: Sherwin Williams Pro Clean Professional
Caulking: Sherwin Williams Pro Select 1100A
Deco Flex: Sherwin Williams Super Paint
Recent Posts
-

Types of Mouldings: A Visual Guide
Mouldings are the trim that finishes a room or a facade: they cover joints, frame openings and add …Oct 10th 2026 -

What Is a Corbel? Types, Sizes & How to Choose Exterior Corbels
Corbels are one of the oldest details in architecture, and one of the easiest ways to add depth and …Oct 10th 2026 -

Ceiling Medallion Sizes: How to Choose
A ceiling medallion is one of the simplest ways to make a light fixture look intentional and to give …Oct 10th 2026