
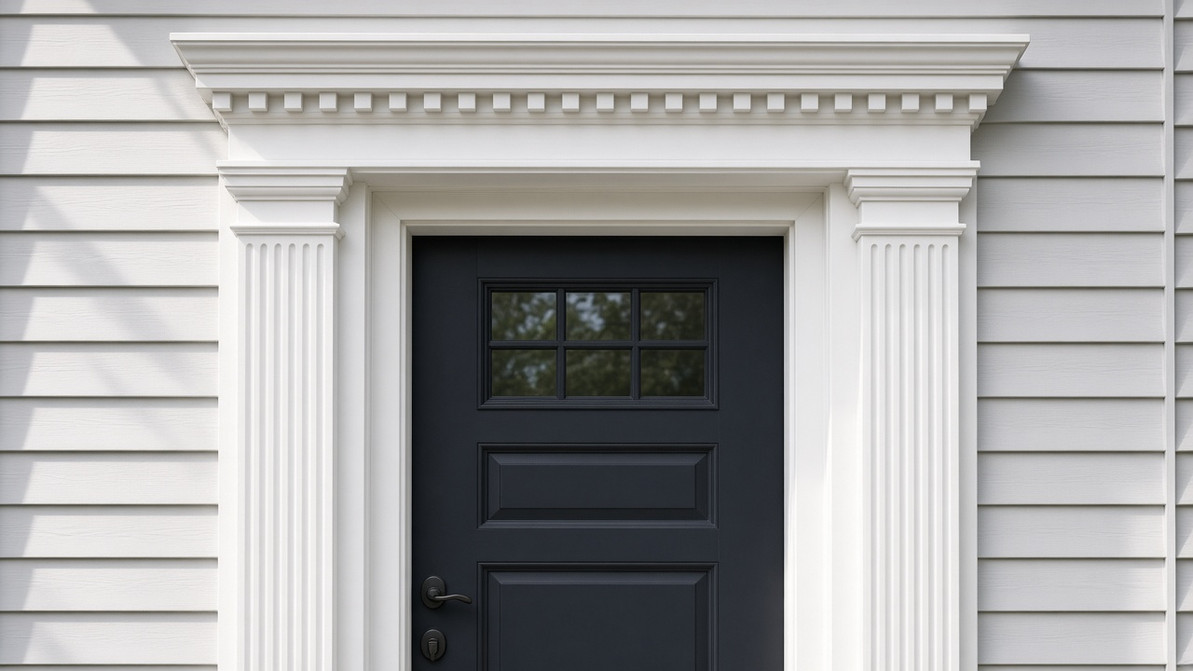
How to Install Crossheads & Pilasters
THINGS YOU WILL NEED TO INSTALL A CROSSHEAD AND PILASTERS:
- Tape measure
- Saw
- Framing square
- Hammer
- Putty knife
- Screw gun
- Exterior grade Stainless Steel screws or nails
- Caulk gun
- 2' or 6' level
- ADH100 Adhesive
Installation of the Pilasters
First measure the height of the door from the top of the door down to the landing.
Note: Be sure to include any existing trim such as brick mold in your measurement.
1. Once you have your measurement, mark the height on the pilasters and cut the excess off from the bottom of the pilaster. Note: It is critical to ensure that pilasters are level at the top of the door.
1a. If using a pilaster with a detached plinth block, you will first attach the plinth block to the pilaster. Apply ADH100 adhesive to the back of the plinth block, position block on pilaster and attach with exterior grade screws through the back of the pilaster.
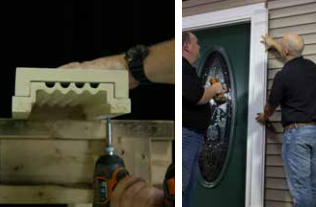
2. Begin installing the Pilasters.
3. To do this you will first need to apply a ¼" bead of ADH100 adhesive to the back of the Pilaster.
4. Now position the Pilaster next to the door and firmly press it onto the installation strips and check for level.
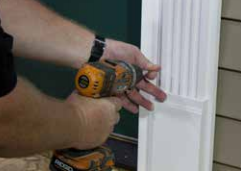
5. Finally fasten the Pilaster to installation strip using exterior grade screws ensuring that you countersink the screws into the Pilaster approximately 1/8", similar to screwing into drywall.
Note: It is recommended that you use a minimum of 6 fasteners on each pilaster, two at the top, two in the middle and two at the bottom. Carefully and slowly screw into the pilaster ¾" from the right or left edge.
Installation of Crosshead
1. If your crosshead needs to be cut, follow the instructions below, otherwise skip to step 2.
1a. If cutting the crosshead to fit the door surround is required:
1b. For stock crossheads that need to be shortened to fit your application, take the desired width of the crosshead and divide the dimension in half. For example, if the crosshead is 56" long and you need the crosshead to be 52" long, take 52/2 = 26"
1c. Next, measure from the right end of the crosshead “half” dimension, i.e. 26". Mark the measurement using a pencil and framing square.
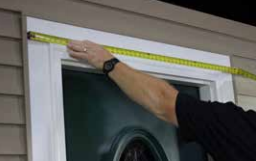
1d. Follow step 1c, measuring the “half” dimension from the left, i.e. 26". Mark the measurement using a pencil and framing square.
1e. Cut the crosshead at the pencil marks.
1f. Place the right and left crosshead pieces on top of the entrance opening, ensuring the outer edge of the crosshead aligns with the outer edge of the entrance opening or pilasters and check for level.
1g. Move to step 2 to install the crosshead pieces.
Note: If you are cutting your crosshead, a keystone is required as part of your door surround to cover the cut in the crosshead.
Note: If your exterior facade is vinyl, it is recommended that you install the crosshead so the vinyl siding sits in the J-channel which is located directly behind the top of the crosshead.
2. Now you are ready to install the crosshead
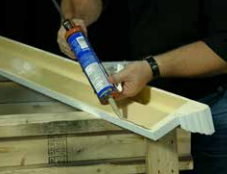
2a. Apply a bead of ADH100 adhesive to the backside of the crosshead. Next you will firmly press the crosshead into position on the installation strips ensuring that the crosshead is properly centered and level above the door and pilasters.
2b. Next fasten the crosshead to the house. It is recommended that you use a minimum of 6 screws. Place the first screw ¾" to 1" from the bottom of the crosshead on the left and second screw ½" from the top of the first screw. Repeat this process in the middle and the right end of the crosshead.
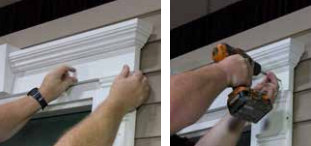
2c. When fastening the crosshead using exterior grade screws ensure that you slowly countersink the screws into the crosshead approximately 1/8", similar to screwing into drywall.
2d. If the crosshead had to be cut to shorten, you must now install the keystone to cover the seam at the center of the crosshead. Overlay the keystone onto the crosshead and center it over the opening. Fasten the keystone to the crosshead by placing ¼" bead of ADH100 adhesive on the back side of the keystone and then use fasteners to secure the keystone in place. Slowly countersink the screws into the keystone approximately 1/8", similar to screwing into drywall.
Note: For aesthetic purposes, it is recommended to toe nail keystone to crosshead.
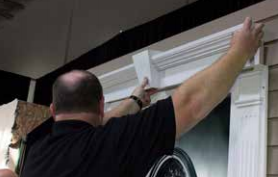
Finishing the Door Surround
1. Now you are ready to fill the holes in the pilasters and crosshead (and Keystone, if applicable) where the fasteners were placed. Note: It is important to use exterior grade filler. Once applied, allow it to dry before sanding.
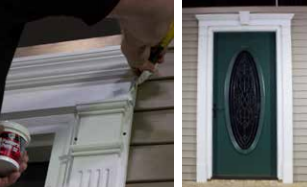
2. Once you have sanded the filler you can now touch up with paint or coordinate the painting with the paint contractor.
Recent Posts
-
Types of Mouldings: A Visual Guide
Mouldings are the trim that finishes a room or a facade: they cover joints, frame openings and add …Oct 10th 2026 -

What Is a Corbel? Types, Sizes & How to Choose Exterior Corbels
Corbels are one of the oldest details in architecture, and one of the easiest ways to add depth and …Oct 10th 2026 -

Ceiling Medallion Sizes: How to Choose
A ceiling medallion is one of the simplest ways to make a light fixture look intentional and to give …Oct 10th 2026