
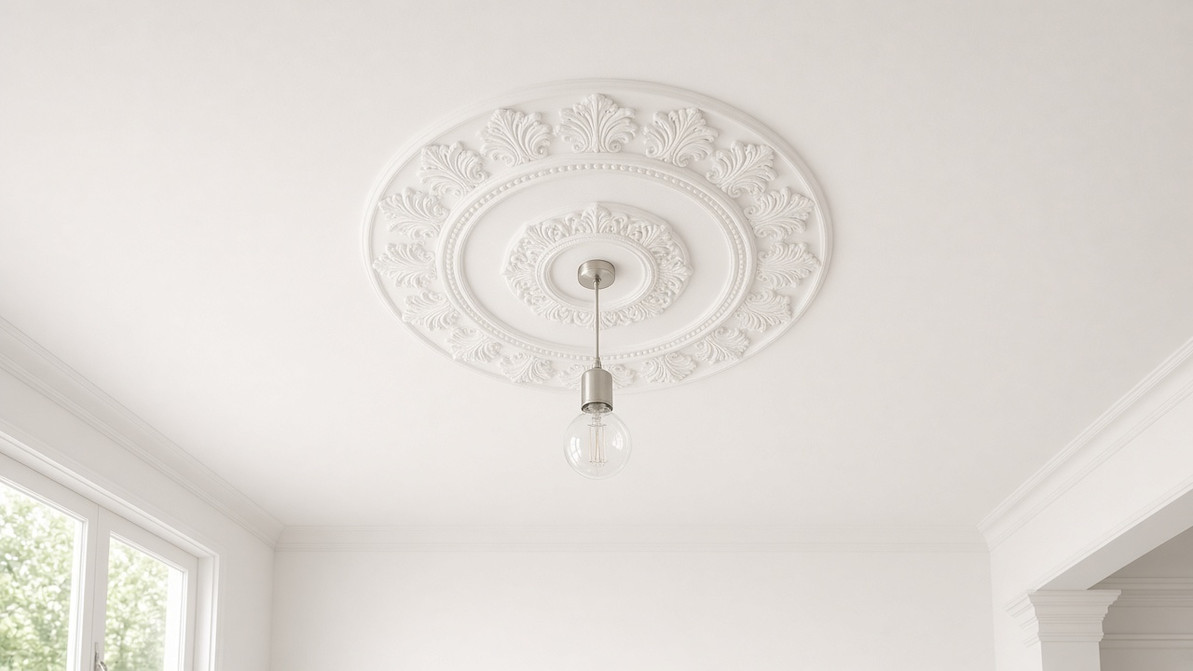
How to Install Spectis Ceiling Medallions
A ceiling medallion is one of the simplest upgrades in the entire Spectis line, and one of the most noticeable. Most medallions install in under an hour around an existing light fixture or ceiling fan, with no rewiring required.
What You'll Need
- ADH100 adhesive construction adhesive
- Low-profile finish screws (for larger/heavier medallions)
- A caulking gun
- A stud finder (helpful, not always required)
- Painter's tape
- Filler and paint for finishing
Step 1: Turn Off Power and Remove the Fixture
Shut off power to the fixture at the breaker before doing anything else. Remove the existing light fixture or fan canopy so you have clear access to the electrical box and ceiling surface.
Dry-Fit the Medallion
Slide the medallion up over the electrical box (most Spectis medallions have a center hole sized for standard fixture boxes) and center it on the box. Confirm it sits flat against the ceiling with no rocking — ceilings are rarely perfectly flat, so check all sides.
Step 3: Mark and Prep
With the medallion held in place, trace a light pencil line around its outer edge onto the ceiling. This gives you a reference for adhesive placement and confirms it's centered before you commit.
Step 4: Apply Adhesive
Apply ADH100 adhesive in a zigzag pattern across the back of the medallion, staying about half an inch inside the outer edge. For medallions over roughly 24", also run a bead in a grid pattern across the interior of the piece for added holding power — larger medallions have more surface area pulling against gravity.
Step 5: Set and Support
Lift the medallion into position using your pencil line as a guide, and press firmly against the ceiling for a full, even bond. For medium and large medallions, brace it in place with a support (a stack of boxes, a mop handle, or a helper's hands) until the adhesive sets — check your adhesive's open/tack time.
For medallions over about 30", back up the adhesive with a few finish screws driven into ceiling joists if you can locate them with a stud finder. Countersink the heads slightly.
Step 6: Reinstall the Fixture
Once the adhesive has cured, reinstall your light fixture or fan through the center opening as usual, restore power, and test.
Step 7: Finish
Fill any screw holes or gaps between the medallion and ceiling with paintable exterior/interior filler, sand lightly, and paint to match your ceiling or trim. This step is required for warranty coverage on the product.
A Few Tips
- If your ceiling has texture (popcorn, orange peel, etc.), lightly scrape or sand a flat landing zone where the medallion will sit for a cleaner bond.
- On very large medallions, having a second person to help support the piece while the adhesive tacks makes the job considerably easier.
- Measure your fixture's canopy size before ordering — you want the medallion's center opening to be fully covered by the canopy for a clean finished look. Not sure what size to order? See ceiling medallion sizes: how to choose or browse our ceiling medallions.
*Spectis makes no guarantee as to the suitability of any product on a specific project or application. Always disconnect power before working near an electrical fixture, and consult a licensed electrician if you have any doubts about your wiring.*
Recent Posts
-

Types of Mouldings: A Visual Guide
Mouldings are the trim that finishes a room or a facade: they cover joints, frame openings and add …Oct 10th 2026 -

What Is a Corbel? Types, Sizes & How to Choose Exterior Corbels
Corbels are one of the oldest details in architecture, and one of the easiest ways to add depth and …Oct 10th 2026 -

Ceiling Medallion Sizes: How to Choose
A ceiling medallion is one of the simplest ways to make a light fixture look intentional and to give …Oct 10th 2026